The Basics of Glacier Travel: Top Tips and Tricks
Ninety nine percent of Earth’s glaciers may sit within ice sheets at the north and south poles, but the remaining one percent are found on mountain ranges spread across six continents.
While these perennial masses of ice add to the aesthetics and sense of adventure on any type of trip, they present a series of logistical and technical challenges for hikers, climbers and skiers alike.
Once you reach and exceed 4,000 metres (13,100 feet) in elevation, you are likely to come across a glacier, even if you are in the tropics. At higher latitudes, glaciers are found at lower elevations.
Glaciers can be unpredictable and full of hidden dangers. As a result, it is always best to travel as a team across them and come prepared.
In spite of the difficulties that they present to an expedition, glacier travel is fun and exciting. Below, we’ve listed some of the top tips and tricks to help you prepare for your next adventure on the glaciers.
What is a glacier?
A glacier is a perennial body of dense ice that is constantly moving due to its own weight. Glaciers are formed by the steady accumulation of snow over the course of centuries.
Due to high levels of stress caused by their immense weight, glaciers slowly deform over time, creating crevasses, seracs – columns of glacial ice often formed by the intersection of two or more crevasses – and other distinguishing features.
When glaciers migrate or retreat, they leave behind other specific geographic landforms known as cirques and moraines.
Wet vs dry glaciers
For the purposes of hiking, climbing and ski touring, glaciers can be put into two categories: dry and wet.
Dry glaciers have no snow on top of them, meaning you are traveling directly across the ice. You will usually find dry glaciers in the late spring or summer and, in general, they are far safer to cross than wet glaciers because you can see any crevasses in the ice.
Wet glaciers, on the other hand, are covered in snow. Glaciers are mostly classified as wet during the winter and early spring. As a result of the snow, it is harder to see crevasses and other changes in the texture of the glacier.
The tips and tricks
While glacier travel is considered one of the most basic mountaineering skills, it still takes some getting used to. Most guides offer weekend to week-long courses that cover the techniques needed to successfully traverse glaciers along with necessary safety skills.
Below we’ve included a few tips and tricks to give you a head start on your next glacier hiking course or adventure.
Colder is better
Choosing when to head out onto a glacier for any type of outdoor adventure will greatly impact the chances your trip is successful as well as the necessary safety measures that you and your guide will need to take.
In general, colder conditions are always better for glacier travel, especially when doing so on a wet glacier. Colder conditions mean snow bridges that cover or cross crevasses are likely to be more solid.
Early mornings are the best time to travel on glaciers, as a result. The snow will have a chance to freeze overnight and the sun will not be strong enough to melt much of it. This is one of the many reasons why mountaineering trips require a pre-dawn start for reaching glaciated summits.
Head out in skis
While they may seem inconvenient or unnecessary on dry glaciers, heading out on a pair of skis can make glacier travel easier and safer.
Unlike walking on crampons, skis distribute your weight across a wider surface area (snowshoes work well for this same purpose too). This may allow you to cross a snow-packed crevasse without sinking in. Due to their length, skiing on the glacier may also allow you to span narrower crevasses.
Ski poles can also be useful in glacier travel, acting as a probe when the basket has been removed.
If you push the pole into the snow and it only compacts a few centimetres, it will likely support your weight. If the pole keeps going into the snow, then you may be over a crevasse and are likely to fall and sink in.
Travel in a rope team
When traveling on a wet glacier, it is best practice to rope yourself up to your companion(s). This way, you can arrest the other person if they begin to fall into a crevasse and vice versa.
There are various ways top rope up to fellow mountaineers, but regardless of the method a few things remain constant.
It is important to make sure the rope is taut between you and the other person the entire time. This prevents you from getting a shock load if the other person falls into a crevasse. In order to achieve this, it is important that the rope team moves at the same speed.
The most experienced person (so probably your guide) should always be the last person in the rope team. If you are at the front and begin to feel like you're falling in, shout to alert the others on your team. Conversely, always be prepared for someone else to fall or you are likely to tumble in after them.
Since rope team glacier travel can be a slow and steady process, it is important that you are comfortably tied in before you start out. You’ll be doing this awhile and, along with being annoying, being uncomfortable makes you more likely to be caught off guard if someone falls.
You may find on dry glaciers that you do not need to travel as part of a rope team. While this is acceptable, it is a bad habit to fall into. Always consult with your guide about the best course of action for traveling on a glacier.
Don’t go it alone
Never head out onto a glacier alone. Even if you think you are following a path left by someone else, you do not know if snow conditions have changed and the route the other party successfully navigated can still safely be done.
Traveling in a team of two or more will increase your safety and the chances of your success. In fact, it is always best to hire a certified mountain guide. A local and certified guide will know the best route to take, identify where crevasses are and be equipped to deal with an emergency, if one comes up.
Top spots for glacier travel courses
For any aspiring mountaineer, the first step to successfully climbing mountains is learning how to traverse glaciers since the overwhelming majority of mountaineering destinations are covered by them.
Plenty of guides offer glacier travel courses for climbers of all levels on a variety of different mountains. Courses generally provide technical and safety instruction, with many including an ascent of the peak on which they take place.
Jostedalsbreen National Park
Located on the western end of the Scandinavian Mountains in Norway, Jostedalsbreen National Park is a popular destination for glacier hiking. Most of the mountains are fairly low lying and far less steep climbing is required.
Many guides offer courses that range in length from a few days to a week, in which they go over how to navigate on glaciers as well as the use of crampons and ice axes. After some classroom-like instruction, days are spent out on the glacier putting these skills to the test.
By the end of a course like this, the goal is for climbers to be comfortable in crampons and with an ice axe and able to hike across dry glaciers with little to no supervision.
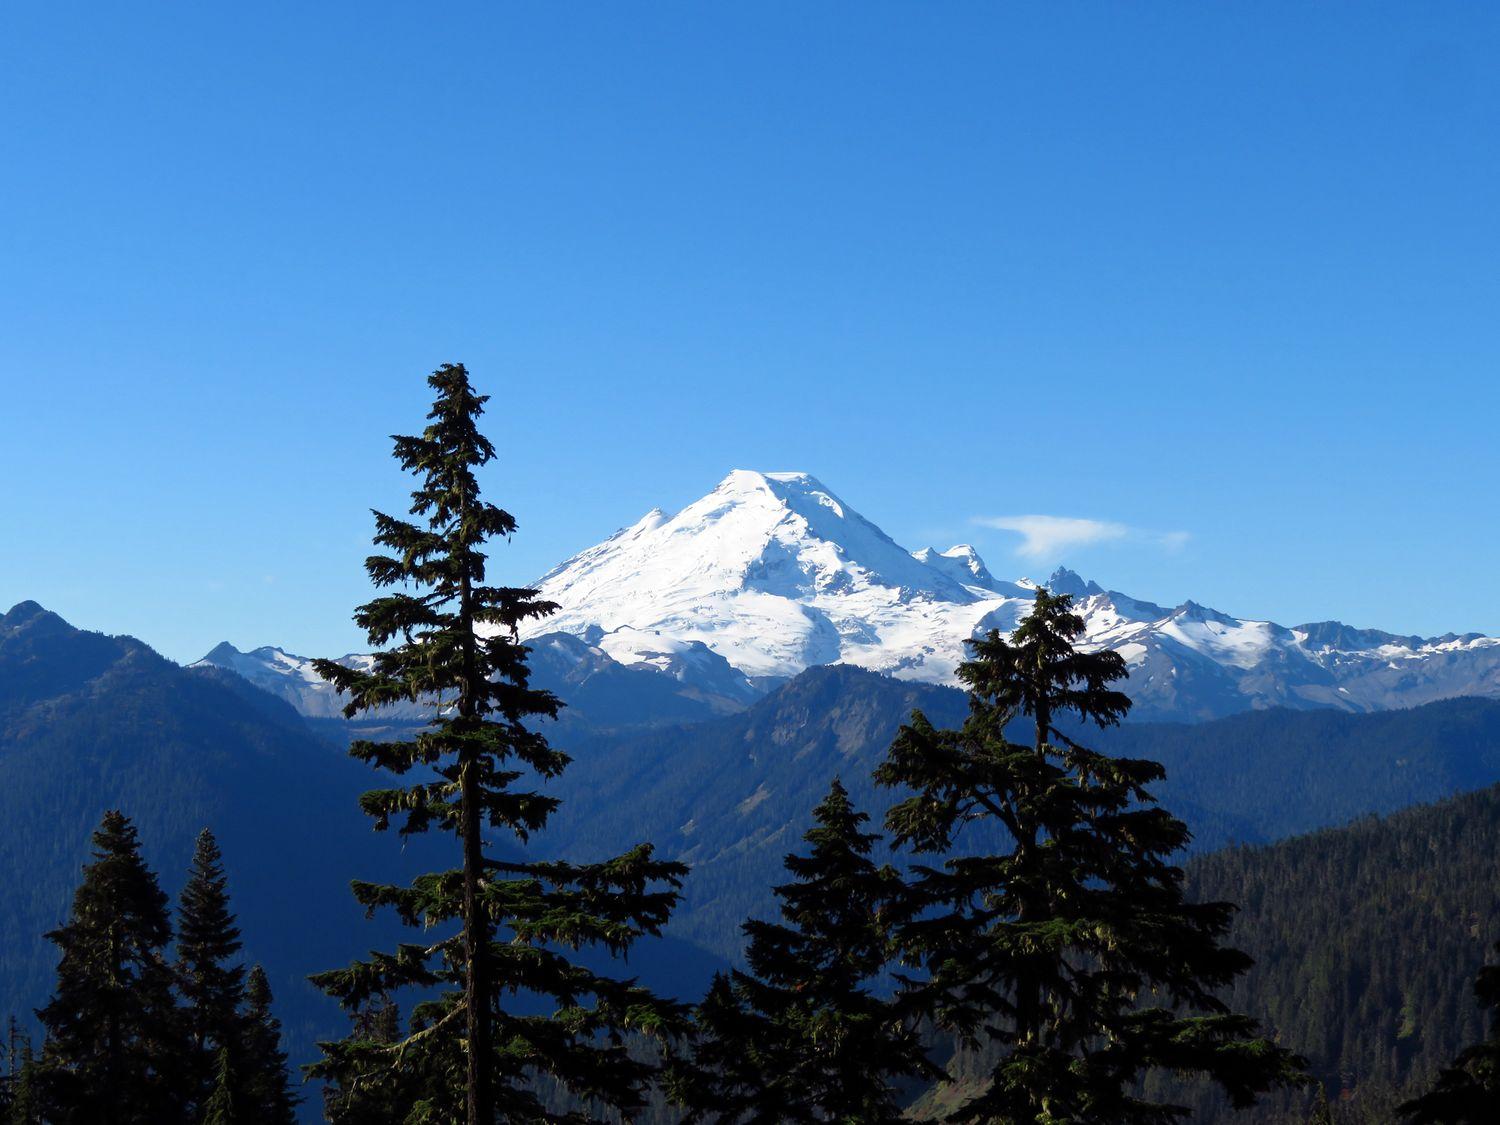
Mount Baker
Situated in the heart of Washington state’s North Cascades National Park, Mount Baker is one of the best mountains in the northwestern United States to practice glacier travel.
Most guides will offer weeklong trips that begin with a hiking approach to base camp. The following days are spent going over the very basics of glacier travel, including rope skills, crevasse rescue, rappelling, navigation and setting up camp on a glacier.
The trip concludes with an ascent to the summit of the highest peak in the park. By the end of the course, climbers have a basic grasp of wet glacier travel and are ready to matriculate to more advanced courses.
Cayambe
For more advanced mountaineers, heading on a glacier climbing course on Cayambe, Ecuador is the perfect way to hone existing skills and learn more advanced ones too.
The volcano, which reaches nearly 6,000 metres (19,500 feet) in elevation, offers a variety of routes to the summit. Most climbing courses on its flanks will last between three days and an entire week.
The volcano’s flank is riddled with small crevasses, making it a great spot to practice self-arrests and crevasse rescue. This is also the perfect moment to work on advanced rope travel techniques.
Courses such as these are perfect for intermediate mountaineers who want to take on more challenging glacier ascents in the Andes and Himalayas. Aspiring and certified mountain guides on the continent have been known to take the courses themselves, in order to refresh their memories.
Get out there and give it a try
Now that you are caught up to speed on the basics of glacier travel, why not head out to the mountains and try it for yourself! ExpedReview compares trips from certified guides so you can find the adventure that is perfect for you!